Populate a Multi-Valued Parameter from a Design Table
Design Tables don’t have to be used to directly drive parameter values based on configuration. We can also use Design Tables as a way to populate Multi-Valued Parameters.
To do this we need to understand the Specification Tree Structure and how to navigate it with EKL code.
- We will create a variable of Type DesignTableType and equate it to the Design Table.
- Next we will get all the child objects below the Design Table, even though we can see the configuration and Design Table Sheet only the Sheet will be returned within a list by the Child property.
- Since the List only has one child its easy to get the Design Table Sheet which is of DtSheetType.
- Now we have the Sheet we can get the number of Rows, this will work regardless of the Design Table being Horizontal or Vertical. Within CATIA behind the scenes they are by default always Vertical Design Tables.
- Now we can loop through the number of rows and extract a specific column of data to a list, using the CellAsString method.
- Finally we can use the AuthorizedValues property on a parameter in the specification tree to define the multiple values.
// Extract Design Table Column data to a multi valued parameter
Let iDesignTableType (DesignTableType)
iDesignTableType = Relations\DesignTable.1

Let ioChildren ( List )
ioChildren = iDesignTableType.Children

Let ioDtSheetType ( DtSheetType )
ioDtSheetType = ioChildren[1]

Let ioNumberofRows ( Integer )
ioNumberofRows = ioDtSheetType.RowsNb

Let ioValueList ( List )
Let ioIndex ( Integer )
ioIndex = 1

For ioIndex While ioIndex <= ioNumberofRows
{
    Let Cell ( String )
    Cell = ioDtSheetType->CellAsString( ioIndex , 1)
    ioValueList ->Append( Cell )
}

`Part Number Search`.AuthorizedValues = ioValueList
This EKL code should be written inside of a Reaction which is set to execute on File Update of the Design table.
Example
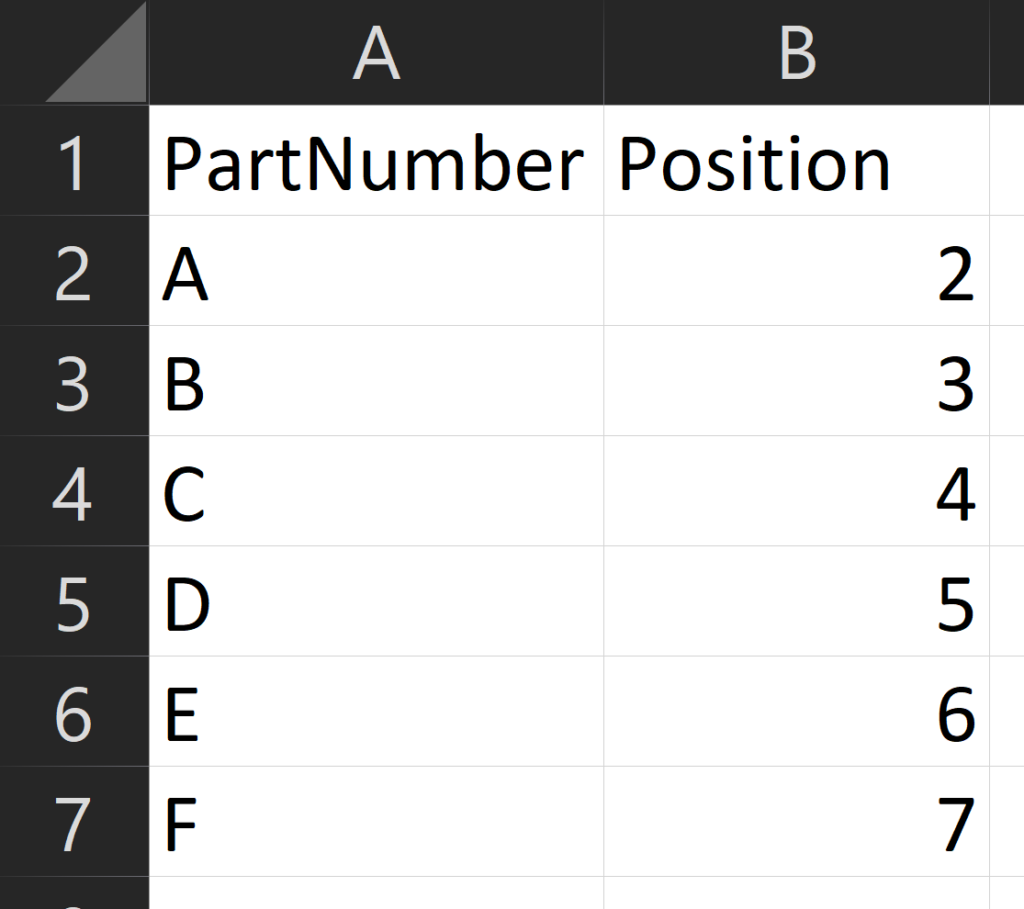
If we create an Excel File with the following data and then create a Design Table from it, but only associate the Position Column to a new parameter.

Then we will create a New String parameter called PartNumber.
We can then create the Reaction on Selection of the DesignTable at FileContentModification, with the previous code.
Now we can go one step further to drive the Configuration value of the Design Table by adding the following formula to the configuration value.
Relations\DesignTable.1\Sheet ->CloserInfConfig( "PartNumber" , PartNumber )
Then the value of the PartNumber is changed which is populated from the Design Table using the Reaction, the formula will use this value to determine which configuration should be active.
