
C# Creating a Project Template
In the last Post we looked at Dependency Injection for WPF projects, since we have done all of this work lets create a Visual Studio project template so we don’t have to keep repeating that work when ever we setup a new WPF project.
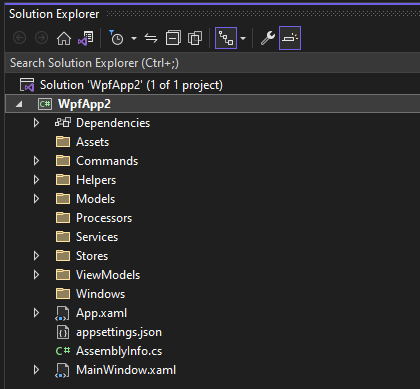
So, before we begin I did clean up the project and add some addition folders that I like to have for my namespaces. I also dragged and dropped the classes previously created into those folders and ensure that the project still built.
Creating the Project Template
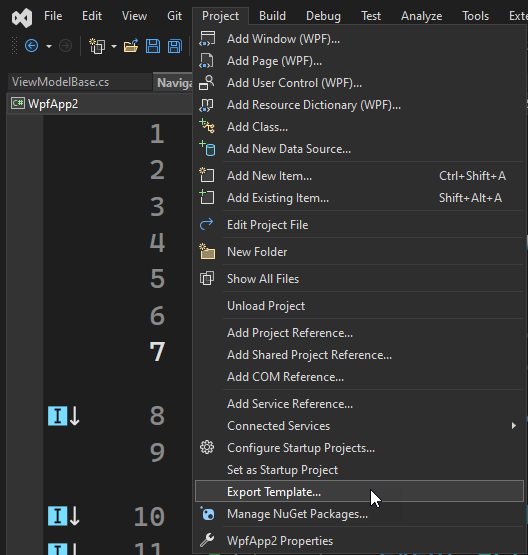
Within the Solution select Project -> Export Template from the top drop down menu.
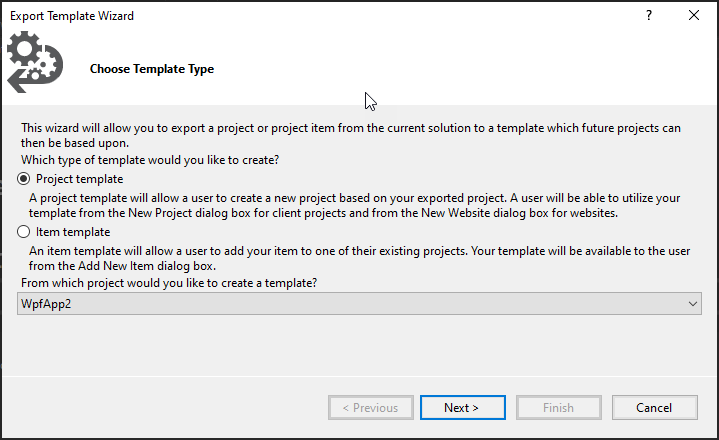
Within the Wizard, select Project Template, then select the Project from the dropdown list, then select Next.
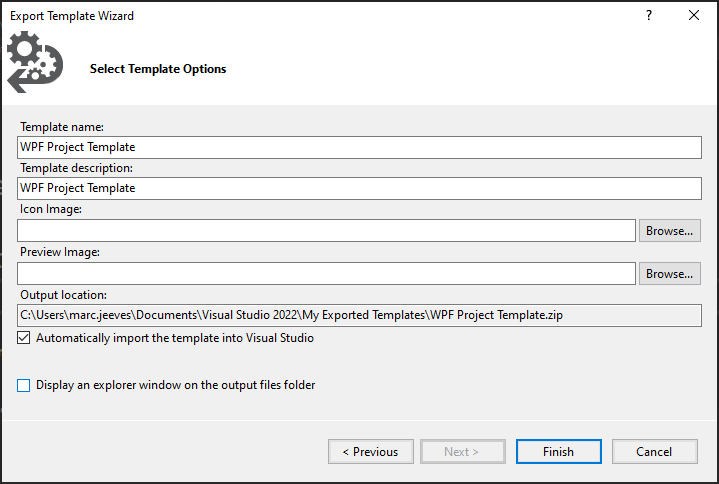
Specify a Template Name and then a Template Description, then select Finish.
Using the New template
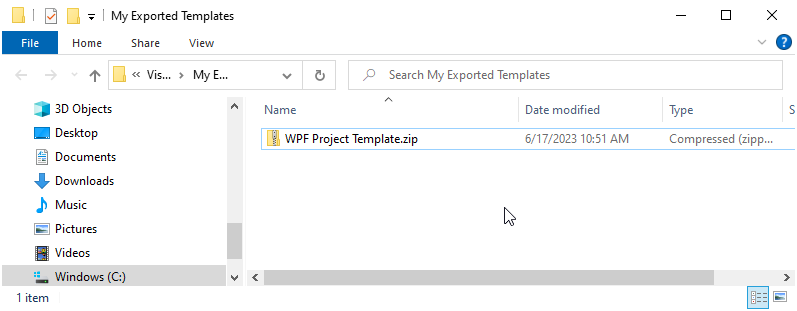
The template will be exported to the following folder path C:\Users\User\Documents\Visual Studio 2022\My Exported Templates, navigate to this folder. Here you will find a compressed zip file of the template, Copy this zip file.
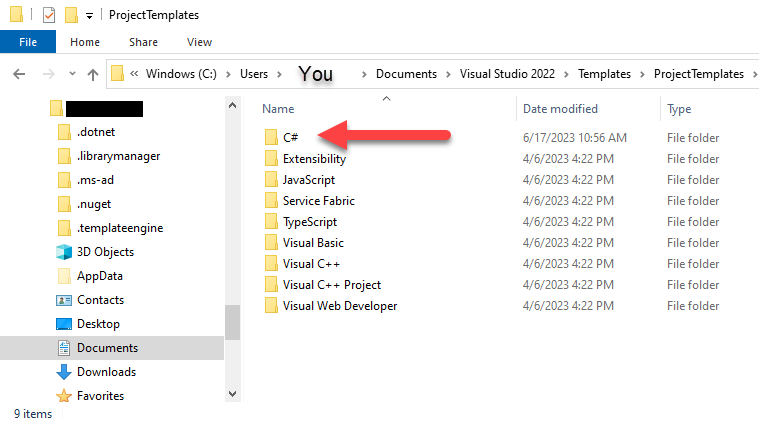
Copy and Paste the zip file into this folder and restart Visual Studio.
Once Visual Studio has restarted, when we create a new Project we can search for the name of the Template and then use this to create a new Project.
